Connecting 2 Computers To One Vinyl Cutter

Graphtec Ce6000 40 Plus 15 Inch Desktop Vinyl Cutter Plotter With 2100 In Software Swing Design Vinyl Cutter Vinyl Software

Affordable 24 Vinyl Cutter Using Gcc With Silhouette Studio Pros And Cons Vinyl Cutter Projects Vinyl Cutter Vinyl Cutter Machine

Sc2 28 Vinyl Cutter 15 X 15 Heat Press Sign Heat Transfer Vinyl
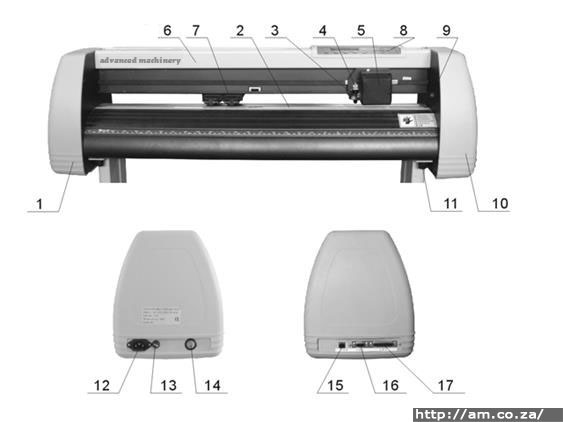
Vinyl Cutter Operating Instruction

Amazon Com Vevor Vinyl Cutter 53 Inch Vinyl Cutter Machine Semi Automatic Diy Vinyl Printer Cutter Machine Manual Positioning Sign Cutting With Floor Stand Signmaster Software Electronics

34 Sc2 Vinyl Cutter With Contour Cutting

2 1 connection check the usb cable and make sure it is plugged in to the computer and the cutter.
Connecting 2 computers to one vinyl cutter.

South Africa S V Series V 800 Vinyl Cutter 2019 Has A New Fresh Look And A Very Affordable Price Youtube

28 Mh Vinyl Cutter W Stand Cutting Software

Amazon Com Carejoy 28 Inch Plotter Machine 720mm Paper Feed Vinyl Cutter Plotter Sign Cutting Plotter Machine With Stand Sports Outdoors
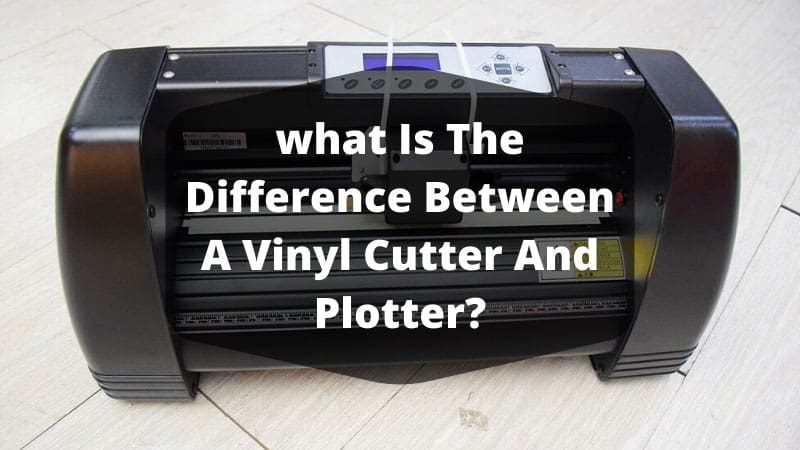
What Is The Difference Between A Vinyl Cutter And Plotter
Source : pinterest.com
